A Practical Guide to On Air Signage Systems
A missed studio cue can be expensive even when the audio never drops. A presenter speaks over an intro, a guest enters while microphones are live, or a producer loses track of the next break. This guide to on air signage explains how clear, connected visual displays reduce those risks without adding complexity to the control room.
On-air signs are often treated as a simple red light above a door. In a working radio, broadcast, podcast, or streaming studio, they are part of the operating system. They communicate status at a glance, support timing discipline, and give presenters and production staff the same view of what matters now.
What On Air Signage Should Do
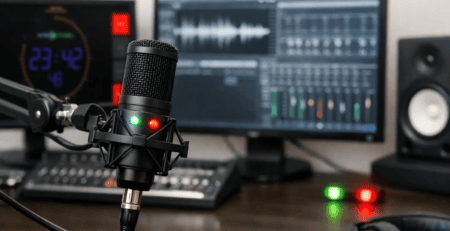
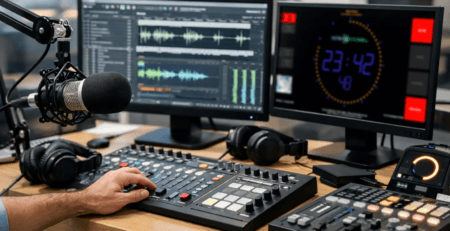
Effective on-air signage makes operational information visible where it is needed. That may be a wall-mounted display in the studio, a monitor in a voice booth, a confidence screen in a production room, or a status indicator outside the studio door. The display should answer a clear question quickly: Are we live? How much time remains? Is the microphone open? What is playing next?
A useful system combines strong visual hierarchy with relevant real-time data. “ON AIR” needs to be unmistakable from across the room. A countdown must remain readable under pressure. If song titles, program names, microphone states, or weather information are shown, they should support the workflow rather than compete with the primary warning.
This is why screen-based signage is often more capable than a fixed lamp alone. A fixed lamp is excellent for a single binary state. A configurable display can show that state while also presenting the duration of the live segment, an upcoming event, a studio clock, or an editorial cue. The right choice depends on the complexity of the operation.
Plan the Signage Around Real Studio Decisions
Before selecting hardware or software, map the moments when people need information but cannot stop to ask for it. This prevents a common mistake: installing a visually attractive display that has no clear role in daily production.
Start with the on-air chain. Identify where the live state originates, such as a mixing console, playout system, GPIO contact closure, automation event, or studio-control application. Then identify who needs to see it. The presenter may need a detailed timer. A guest needs an obvious red or green indication. Staff in a hallway may only need to know whether entry is appropriate.
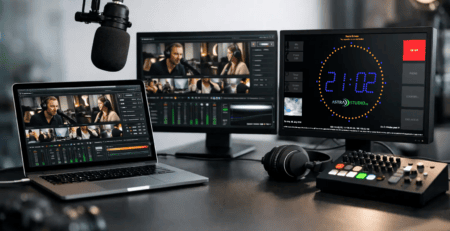
Timing is usually the next priority. A count-up timer helps talent track the duration of a live talk break. A countdown is better when a fixed network join, commercial break, remote contribution, or scheduled event is approaching. In some studios, both are needed, but they should be separated visually so no one mistakes elapsed time for remaining time.
Also decide which information is authoritative. If the playout system provides the current and next title, use that source rather than asking an operator to update text manually. If microphone status comes from the console, the signage should reflect the console state. Manual overrides are valuable for exceptional situations, but they should not become the normal operating method.
Choose Displays for Viewing Distance and Environment
A display that works at an operator desk may fail completely on the far side of a studio. Viewing distance, mounting position, ambient light, and the audience for each screen determine the appropriate format.
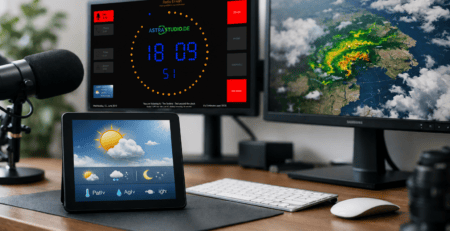
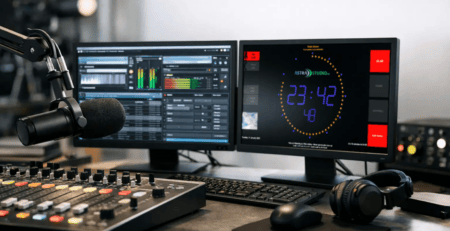
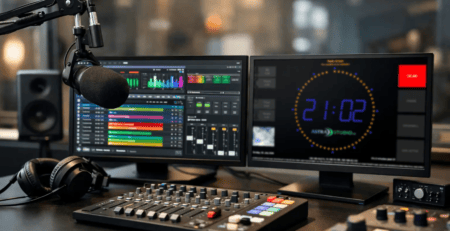
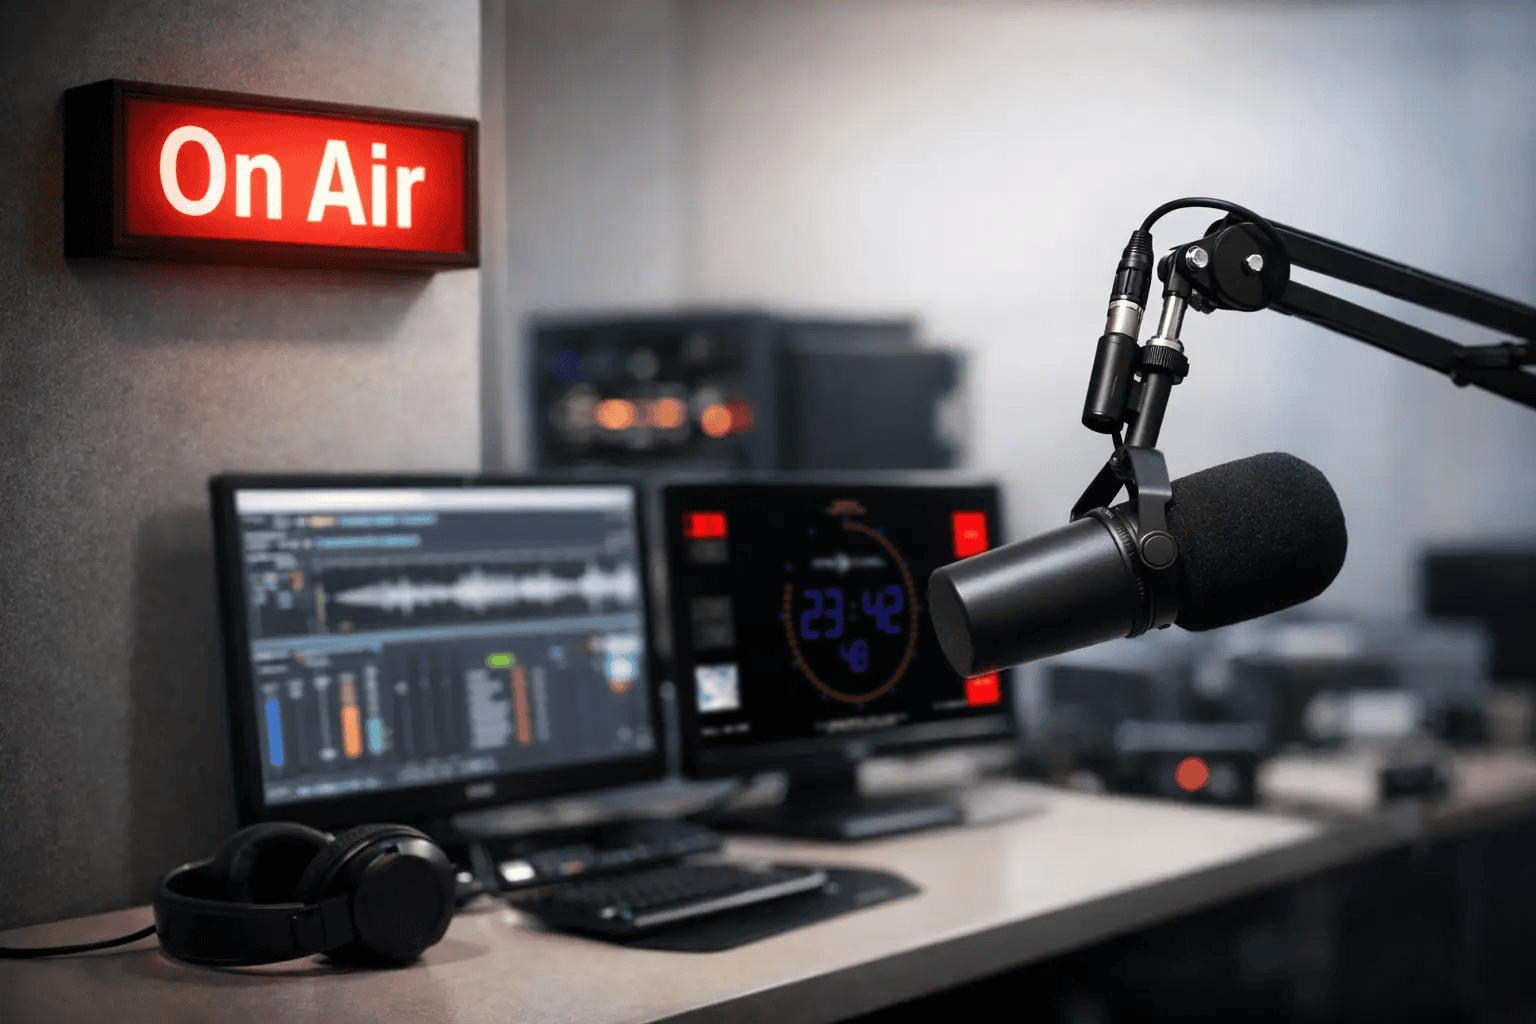
For in-room displays, a standard monitor or television can provide substantial flexibility. It can show a full-screen on-air warning during live segments, then switch to timer, clock, playlist, or branded information as needed. Large type, high contrast, and restrained use of color matter more than decorative graphics. Red remains a strong on-air cue, but it should not be the only signal. Use clear text and a distinct layout so the display remains understandable for all users and in varying lighting conditions.
External door signs have different requirements. Their job is immediate recognition, not detailed data. A dedicated sign can be appropriate here, particularly where the signal must be visible from a corridor. However, if the door area also needs custom messages such as “Recording,” “Live Remote,” or “Please Wait,” a compact display can offer more operational value.
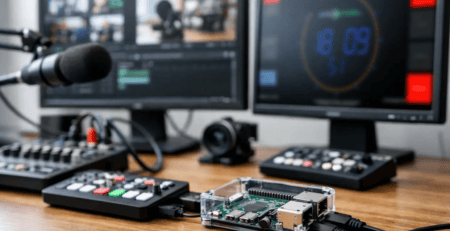
Consider the device running the screen as part of the design. A Windows, Linux, macOS, or Raspberry Pi OS environment may be suitable depending on existing support standards and the number of displays. A preconfigured Raspberry Pi image can be especially practical where teams need a compact, repeatable installation with minimal local administration.
Integration Determines Whether Signage Is Trusted
Staff only rely on signage when it is accurate. A display that lags, misses a status change, or requires frequent manual correction quickly becomes background noise. Integration is therefore not an optional technical detail. It is the foundation of the system.
The best connection method depends on the equipment already in use. GPIO is a direct and dependable option for consoles and studio hardware that provide physical status outputs. HTTP can suit web-enabled automation, control panels, and custom applications. UDP and multicast are useful when low-latency messages need to reach several displays at once. MQTT is a strong fit for event-driven environments and distributed installations, while Home Assistant integration can be relevant where studio status is part of a broader facility-control setup.
There is no universal winner. A single studio with a console contact closure may benefit from GPIO because it is simple and predictable. A network of studios, edit suites, and remote production spaces may be better served by MQTT or multicast. A custom workflow may require an API that accepts flexible text fields from a scheduling or playout system.
Define what happens when connectivity is lost. For a primary on-air warning, a safe fallback state should be considered carefully. In some workflows, showing a clear “status unavailable” notice is preferable to leaving a stale ON AIR message on screen. In others, the display should retain the last valid state until a local source changes it. The correct behavior depends on the operational risk and should be tested before launch.
Design Information Hierarchy, Not Just a Screen Layout
A studio display can technically show dozens of data points. That does not mean it should. The most useful layouts assign one dominant purpose to each screen and use secondary information sparingly.
For a presenter-facing screen, the on-air state and timing information should dominate. Current and next track metadata can sit below it in a smaller, stable area. For a producer screen, a larger countdown, program clock, and cue text may be more valuable than metadata. For a reception or hallway display, the live status should be the only message that matters.
Consistency is equally important. Use the same colors, labels, and state logic across rooms. If red means “microphones live” in Studio A, it should not mean “recording armed” in Studio B. If green means safe to enter, make that language consistent in every visible location. Small conventions reduce training time and prevent hesitation during live production.
Branding can be included, but it should stay subordinate to operational clarity. A logo and station colors make the display feel part of the facility. They should never reduce contrast, obscure a timer, or turn a status screen into a promotional graphic.
Build for Fast Installation and Controlled Change
A signage project does not need to become a long infrastructure program. Begin with one high-value use case, such as a central on-air timer with microphone status. Install it in the room where the production impact is clearest, connect it to the authoritative source, and observe how people use it during normal programming.
Test more than the happy path. Open and close microphones repeatedly. Trigger transitions during a busy show. Restart the player device. Disconnect the network. Confirm that all screens update as expected and that operators know what the visual states mean. This testing is where a technically functional setup becomes a dependable broadcast tool.
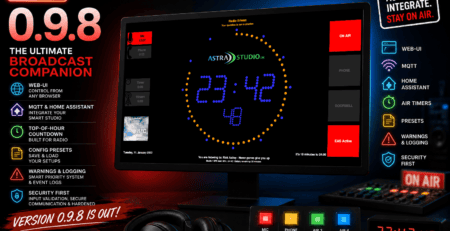
Once the core display is proven, add relevant modules such as a stopwatch, local weather, current title, next title, or custom message field. Software such as astrastudio OnAirScreen is designed for this staged approach, combining configurable screen content with interfaces that can fit established studio systems or tailored workflows.
Keep the Display Useful After Launch
On-air signage should evolve with the station, not remain frozen after installation. Review it after a few weeks of real use. Ask presenters which information they notice first, whether producers still rely on verbal reminders, and where confusion occurs. If a screen contains data that nobody uses, remove it. If teams keep asking for the same missing cue, add it in a controlled way.
The goal is not to put more information on the wall. It is to make the next correct action obvious when the studio is busy, the clock is moving, and no one has time to search for an answer.