Raspberry Pi Broadcast Display for Studios
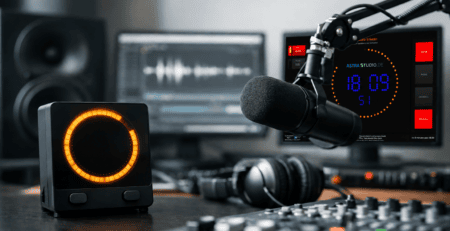
A missed talk break rarely comes from bad talent. More often, it starts with bad visibility. If the host, producer, or operator cannot see the right timing and status information at the right moment, the studio starts working harder than it should. That is exactly where a raspberry pi broadcast display earns its place – as a focused, always-on screen for on-air timing, microphone status, current and next title data, weather, and other studio-critical information.
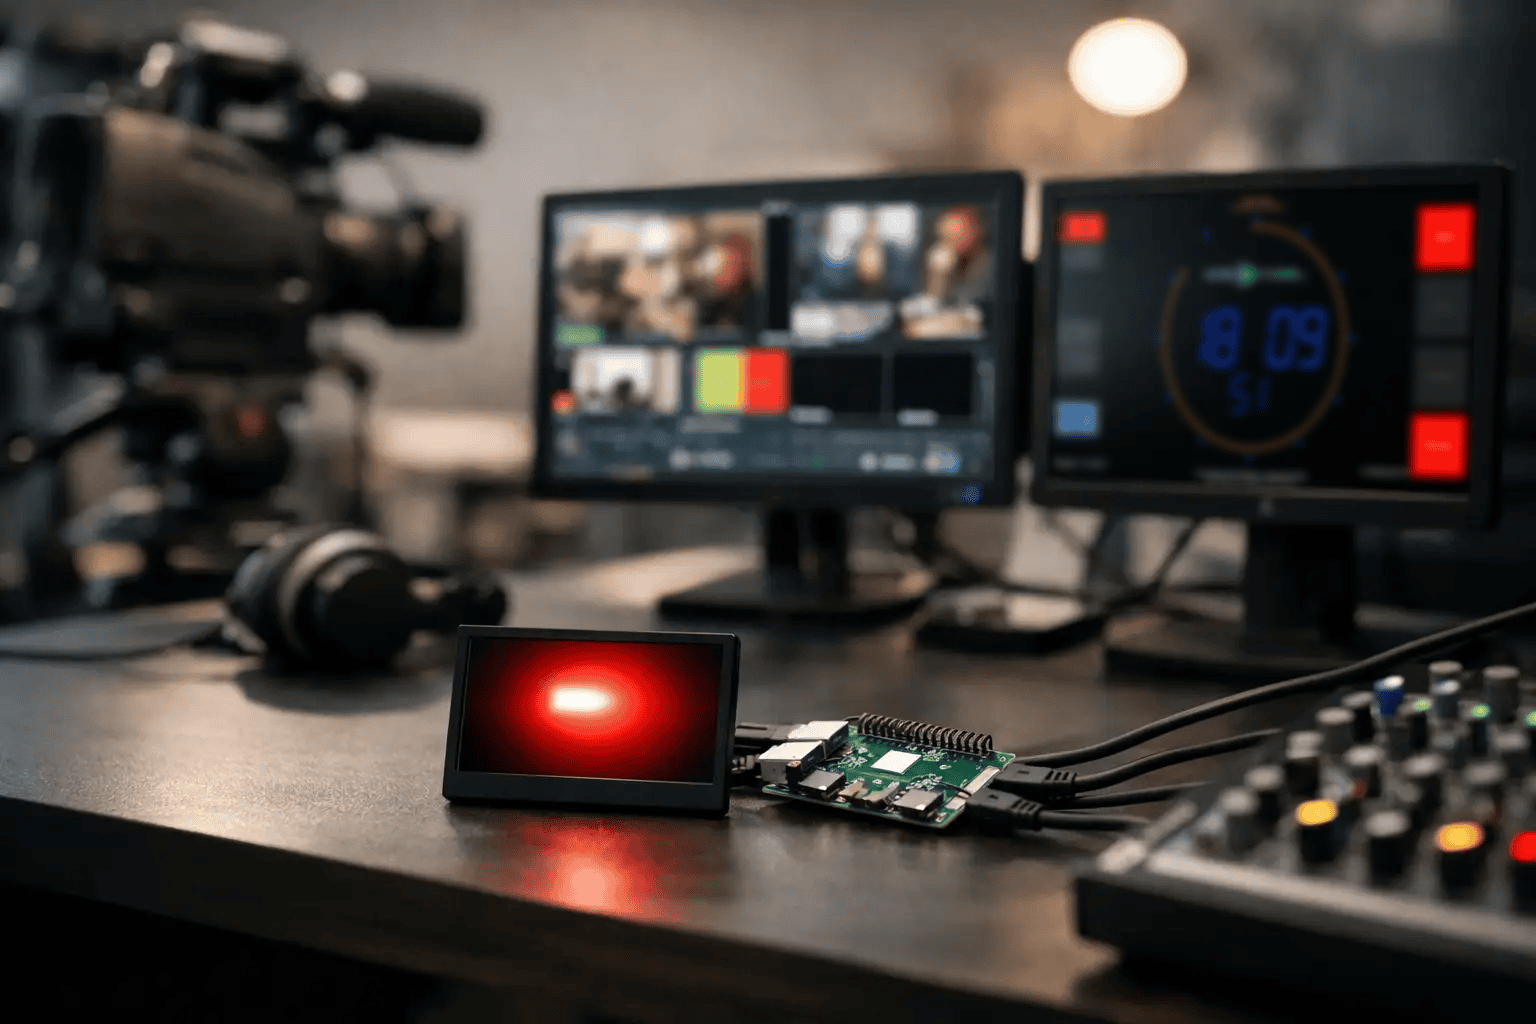
For radio, streaming, and production environments, the appeal is not just cost. A Raspberry Pi-based display can be compact, quiet, power-efficient, and easy to mount where operators actually need it. More importantly, it can be deployed without introducing a full desktop workstation into every corner of the studio.
What a raspberry pi broadcast display is really for
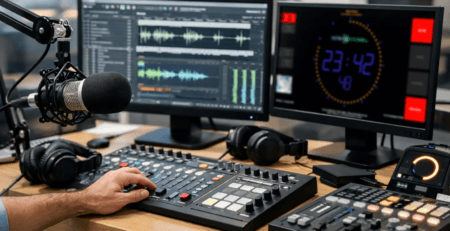
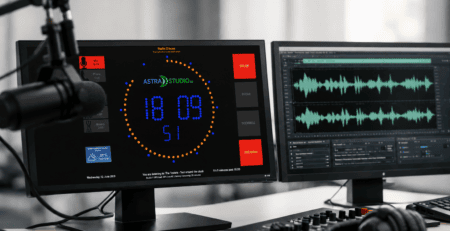
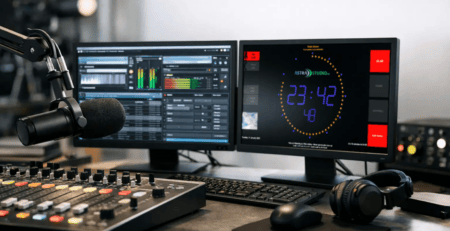
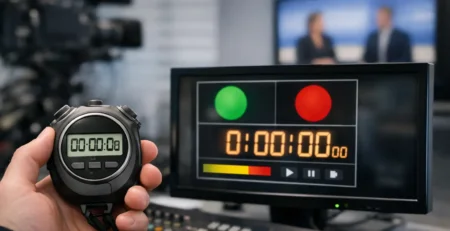
In practical terms, this type of display is not a general-purpose signage screen. It is a production tool. Its job is to present clear operational information that supports live workflows: countdowns to top of hour, stopwatch views for segments, on-air indicators, microphone state, title metadata, and custom text fed from automation or control systems.
That distinction matters. A consumer display loop might look attractive, but in broadcast the priority is legibility, reliability, and fast reaction. Studio staff need information they can trust from across the room, under pressure, without hunting through menus or browser tabs.
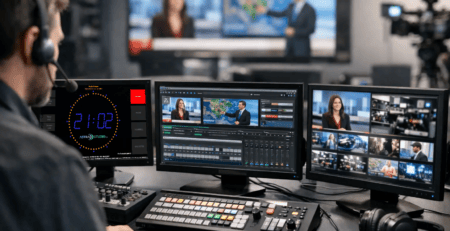
A good setup also needs to fit the way real studios operate. Some teams want a dedicated timer near the talent position. Others want a large wall display that combines clocks, on-air status, and track data. In smaller streaming rooms, one Raspberry Pi may handle a single HDMI monitor. In larger facilities, multiple screens may show different layouts depending on room function.
Why Raspberry Pi fits broadcast display tasks
The Raspberry Pi works well in this role because the hardware footprint is small and the purpose can stay narrow. Once configured, the device can behave like an appliance rather than a general computer. That is often exactly what technical managers want in production spaces.
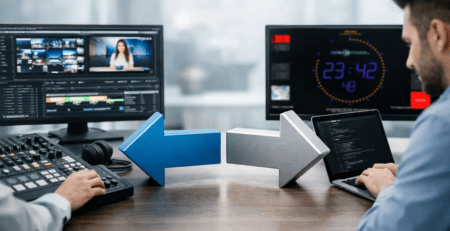
It also gives studios flexibility in rollout. You can standardize on the same software across Windows, Linux, macOS, and Raspberry Pi OS, then choose the hardware platform based on location and budget. A control room PC might run a full desktop setup, while a talent-facing display runs on a Pi behind the screen.
There are trade-offs, of course. A Raspberry Pi is not the right answer for every graphics-heavy use case, and some custom workflows may require more processing power or a different operating environment. But for dedicated on-air displays, timers, clocks, and status views, it often delivers the right balance of simplicity, performance, and cost.
Core features that matter in a Raspberry Pi broadcast display
The first requirement is visibility. Information has to be readable at a glance. That means clean layouts, strong contrast, predictable placement, and screen designs built for studio distance rather than laptop distance.
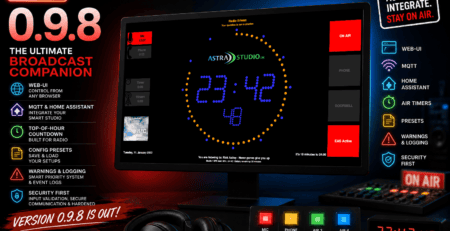
The second is integration. In broadcast, a display becomes useful when it can reflect live system state. That may include mic on/off status, current and upcoming titles, text messages, GPIO-triggered events, or timing data from another application. If the display accepts data over HTTP, UDP, multicast, MQTT, or other common interfaces, it becomes much easier to fit into existing workflows instead of forcing workflow changes.
The third is deployment speed. Engineering teams do not want every new studio display to become a custom build project. A preinstalled Raspberry Pi microSD image can save real time here. Instead of assembling the OS, graphics environment, boot behavior, and app configuration from scratch, teams can move much faster from hardware to operational screen.
That difference becomes obvious during rollout. One display is manageable by hand. Five or fifteen displays across studios, edit suites, and shared production rooms are a different story.
Raspberry Pi broadcast display in daily studio use
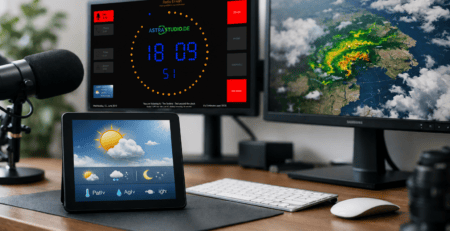
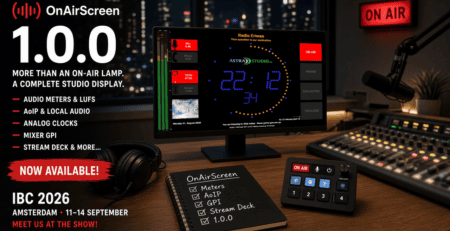
The best proof of value is what happens during an actual shift. A host sees a large countdown to network join. The producer watches a stopwatch for a live segment. The operator has immediate confirmation that microphones are on air or off air. A side display shows current and next track information pulled from automation. None of that is flashy, but all of it reduces friction.
This is also where customization matters. Different teams need different priorities on screen. A morning show may care about break timing and mic state. A web radio setup may focus more on current title, next title, and branded visuals. A production room may want a large timer and fewer distractions.
A useful platform should support that without becoming a development project every time the layout changes. Flexible screen design, configurable widgets, and multiple input options make the difference between a tool people keep using and one they bypass after two weeks.
Integration is where the real value shows up
Most studios do not need another isolated screen. They need a display that participates in the system already in place. That is why API and interface support matter so much in a raspberry pi broadcast display deployment.
If title data can be pushed over HTTP, or status updates arrive via MQTT, or GPIO events reflect physical controls, the display stops being passive. It becomes part of the operational chain. That can include simple use cases, like changing an on-air indicator when a mic channel opens, or more advanced ones, like switching text fields and states based on automation events and custom middleware.
There is no single best integration method for every site. Smaller setups often prefer the fastest path with minimal infrastructure. Larger facilities may want multicast, message-based communication, or custom software layers that coordinate multiple systems. The right solution depends on what already exists and how much control the team wants over future changes.
This is also why off-the-shelf and custom approaches should not be treated as opposites. In many studios, a standard software base with tailored integration gives the best result. You get fast implementation without giving up fit.
Installation and maintenance: simple matters
Broadcast engineers appreciate flexibility, but they also value predictability. A display device should boot reliably, recover cleanly after power loss, and require very little day-to-day attention.
That is one reason preconfigured Raspberry Pi deployments are attractive. When the software environment is already prepared, installation becomes much more straightforward. Connect the hardware, load the configuration, assign the screen to its role, and move on to testing in the actual room.
Maintenance benefits as well. Standardizing on one display platform across multiple rooms reduces troubleshooting time. Spare hardware is easier to keep on hand. Replacing a failed unit becomes a quick swap instead of a lengthy rebuild.
For operations with limited technical staff, this can be more important than raw hardware cost. Cheap devices are not actually cheap if every update or replacement pulls an engineer away from the rest of the facility.
When a Raspberry Pi display is the right choice – and when it is not
For dedicated studio indicators, timers, title displays, and compact wall-mounted screens, Raspberry Pi is often a very strong fit. It keeps the endpoint simple and avoids overbuilding the task.
It may be less suitable if the project depends on very heavy graphics rendering, unusual display driver requirements, or a broader desktop application stack on the same device. In those cases, a Windows, Linux, or macOS endpoint may be the better operational choice even if the visual purpose is similar.
That is why platform flexibility matters. The strongest broadcast display strategy is not about forcing every room onto one hardware type. It is about using one consistent software concept across the platforms that make sense for each room.
For many broadcasters and streaming operators, that means Raspberry Pi where compact, stable display endpoints are needed, and desktop platforms where local control or extended processing is more important.
Choosing a solution that will still fit six months from now
A studio display usually starts with one need and grows into several. First it is a timer. Then it also needs mic status. Then title data. Then a branded idle screen. Then an API connection to another internal tool.
That is normal. Broadcast workflows evolve, and display systems should be ready for that. A product that is easy to install but hard to adapt can become a bottleneck surprisingly fast.
The better path is a solution that is operational on day one and still open to customization when your workflow changes. That might mean configurable widgets out of the box, broad interface support, or access to tailored development when a standard feature set no longer covers the full requirement. Providers like astrastudio typically stand out here by combining ready-to-run software with implementation support for more specialized studio environments.
If your current setup still relies on improvised browser windows or generic signage tools, the issue is probably not the screens. It is that the display layer was never designed for live production. A focused Raspberry Pi display can fix that quickly, and the real payoff is not on a spec sheet. It is the calmer studio that follows.