Best Software for Radio Studio Timer Systems
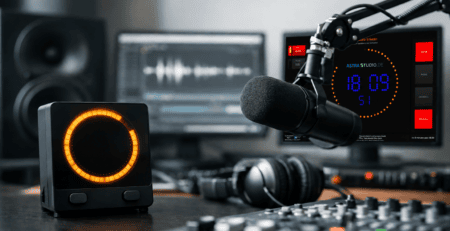
A presenter should not have to ask whether there are 12 seconds or 12 minutes left in a break. That is why the best software for radio studio timer use is not simply a clock on a monitor. It is a clear, dependable visual tool that gives everyone in the room the same timing information at the moment it matters.
For a small web radio studio, that may mean a full-screen countdown next to the microphone. For a multi-room broadcast facility, it can mean synchronized displays, mic status, current and next track details, and timer states driven automatically by the playout system. The right choice depends on the workflow, but the selection criteria are surprisingly consistent.
What the Best Software for Radio Studio Timer Must Do
A studio timer has one job above all others: it must be understood immediately. Large digits, strong contrast, and layouts that remain readable across the control room are more valuable than decorative effects. If the presenter needs to lean forward or interpret a crowded screen, the display is adding friction rather than removing it.
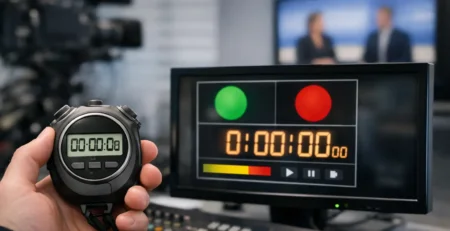
Timing modes also need to match real production work. Count-up timers are useful for live talk segments, interviews, and network joins. Countdown timers help presenters hit fixed news, commercial, and legal break times. A stopwatch supports ad hoc production tasks, while a clock with accurate local or network time keeps the room aligned with the schedule.
The strongest systems allow these modes to coexist without forcing operators to change applications or rebuild a layout. A producer may need a visible live duration, while talent needs a countdown to the top of the hour. Both should be possible on separate displays, with the right information for each position.
Readability is an operational requirement
Screen design should be treated as part of the technical specification. Choose a timer application that supports configurable font sizes, colors, background colors, and positioning. A red countdown can be effective for a critical cue, but it should not become visual noise across every state. Clear color logic helps: neutral for normal operation, amber for attention, and red only when action is required.
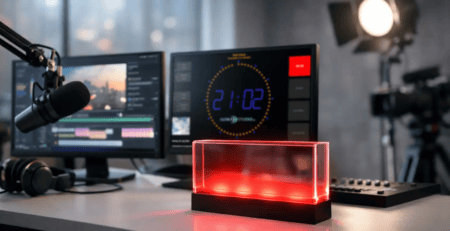
Full-screen output matters as well. In many studios, the timer is shown on a dedicated monitor, television, or compact display near the camera or microphone position. The software should make good use of that display without exposing desktop controls, notifications, or operating-system clutter.
Look Beyond the Timer: Integration Defines the Result
A manually started timer is useful. An automatically controlled timer is usually better. The difference becomes obvious during busy live shows, when the person watching the clock is also cueing talent, answering a producer, and managing a playout change.
The most effective radio studio timer software can receive commands from the systems already in use. Depending on the setup, that may include HTTP, UDP, multicast, MQTT, GPIO, or a dedicated integration layer. These interfaces allow the display to start, stop, reset, switch layouts, or update text based on a playout event, a physical button, or a studio automation rule.
For example, a timer can begin when a microphone opens, show the duration of a live break, and reset when the microphone closes. It can also receive the scheduled end time of a segment and present a countdown without an operator typing anything. This reduces missed cues and creates a more consistent on-air workflow.
Text integration is equally valuable. A timer display is often the best place to show the current title, the next track, presenter name, show identifier, or an operational message such as “News in 02:00.” The key is flexibility. A display system should accept information from the sources a station already operates, rather than requiring the station to redesign its workflow around one narrow interface.
Mic status prevents avoidable mistakes
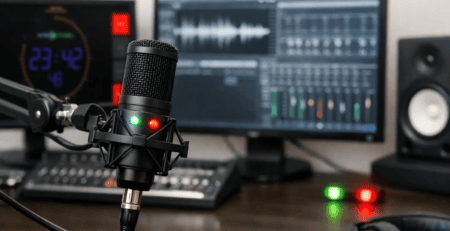
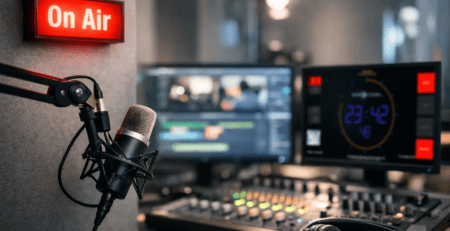
On-air and off-air microphone status is one of the most useful additions to a timer screen. A clear visual indication tells talent whether the studio is live before they speak, and gives producers a quick confirmation from across the room.
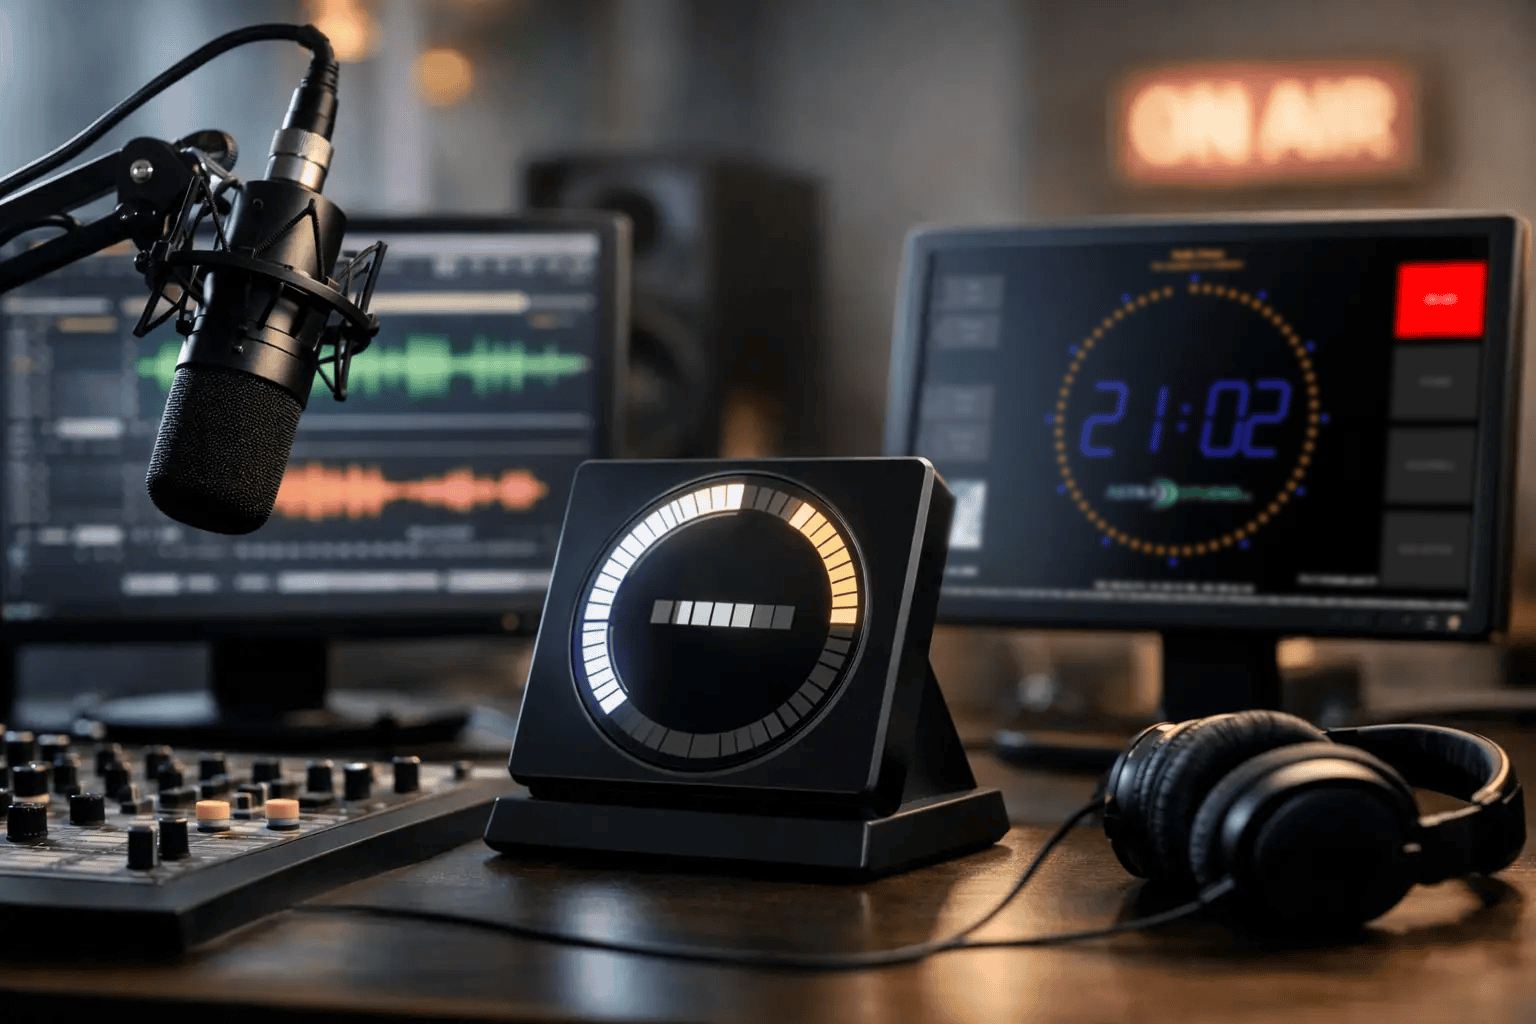
This function must be reliable and visually unambiguous. A tiny status icon hidden beside a clock is not enough. Consider whether the software can present a prominent ON AIR state, respond quickly to changes, and maintain the correct state when multiple microphones or studios are involved.
Platform Choice Affects Installation and Maintenance
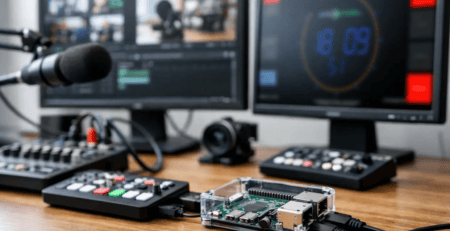
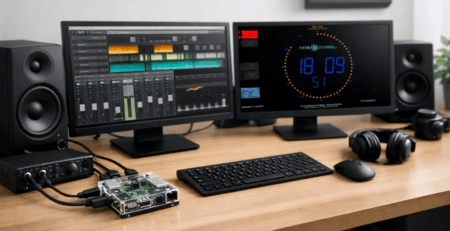
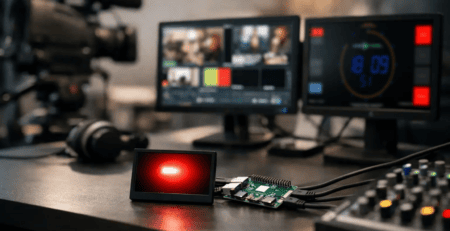
The best timer software is not necessarily tied to the most expensive hardware. Many stations use a dedicated Windows computer, while others prefer Linux, macOS, or a compact Raspberry Pi attached directly to a display. Each approach can be appropriate when it fits the support model and physical studio environment.
Windows may be the natural option where the studio already uses Windows-based playout and control systems. Linux can suit fixed-purpose display devices that need a stable, controlled configuration. macOS can fit production rooms built around Apple hardware. Raspberry Pi is often a practical choice for low-power, space-saving display endpoints, especially when a studio needs several independent screens.
Cross-platform support is particularly useful for organizations that have grown over time. It avoids replacing working hardware just to standardize a timer display. It also makes it easier to test a configuration in one environment and deploy it in another.
Installation deserves the same scrutiny as features. A timer system that takes a day to configure for each screen can become expensive quickly. Preconfigured images for dedicated display hardware can reduce setup time and produce consistent results across rooms. For technical teams, this means less repetitive configuration and a clearer recovery path if a device needs to be replaced.
Decide How Much Customization the Studio Actually Needs
Not every station needs a custom-built interface. A standard product with configurable timer modes, branded colors, screen layouts, and API-based text updates is often the fastest and most cost-effective route. It can solve the core requirement without turning a studio display into a software project.
There are cases where custom development is justified. A network may need a specific automation protocol, an unusual tally workflow, multiple language variants, or a display design that mirrors its existing on-air identity. Production environments with complex routing or custom control panels may also benefit from a tailored implementation.
The practical question is not “Can the software be customized?” Almost every serious solution can be changed somehow. Ask instead whether the customization can be implemented, tested, documented, and supported without creating a fragile one-off system. Standard functionality should cover the daily workflow. Custom work should focus on the parts that genuinely differentiate the station’s operation.
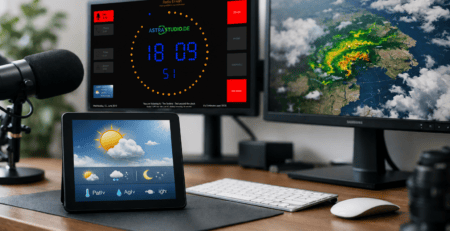
astrastudio’s OnAirScreen is designed around this balance: a ready-to-use studio display with timers, stopwatch, countdown, weather, microphone states, and flexible text inputs, while still allowing integration into specific broadcast workflows.
Test the Timer Under Real On-Air Conditions
A product demonstration can make any timer look convincing. The more useful test is a live-style rehearsal with the people who will use it. Put the display at its intended distance. Run a short break, a fixed-time news handoff, and a fast playout transition. Ask presenters whether they can read the information without changing posture or losing focus.
Test failure behavior as well. What happens if the network connection drops? Does the timer continue locally? Can the display reconnect automatically? If a command is sent twice, does the system recover cleanly? A dedicated studio display should be predictable during normal operation and understandable when something goes wrong.
Also consider who can make changes. Producers may need to update a message or select a layout, while technical staff should retain control over integrations and system settings. Clear roles prevent accidental changes during a show and reduce the need for last-minute technical intervention.
A Better Purchase Decision Starts With the Studio Workflow
Before comparing features, map one typical hour of programming. Identify every moment when a presenter, producer, or engineer needs timing information. Then identify what should happen automatically, what must be visible from a distance, and which systems must provide data to the display.
That process will clarify whether you need a simple desktop timer, a dedicated full-screen studio display, or a connected on-air information system. The best choice is the one that reduces uncertainty in the room, fits the hardware you can support, and remains clear when the next break is only seconds away.