Professional On Air Clock Display for Studios
A professional on air clock display earns its place in a studio when it answers the questions that matter without anyone having to ask: What time is it? How long remains? Is the microphone live? What happens next? A standard wall clock only solves the first question. In radio, streaming, and production environments, the display needs to support timing discipline, clear communication, and confident decisions while a program is live.
For technical teams, this is not a cosmetic addition to the control room. It is a visible part of the operating workflow. The right display reduces verbal interruptions, keeps hosts and producers on the same reference time, and gives every person in the room immediate status information at a glance.
What a Professional On Air Clock Display Needs to Do
A studio clock must be readable before it is decorative. Large digits, high contrast, and an uncluttered layout matter more than visual effects. Talent should be able to read the time from across the room, even under bright studio lighting or from an off-angle position.
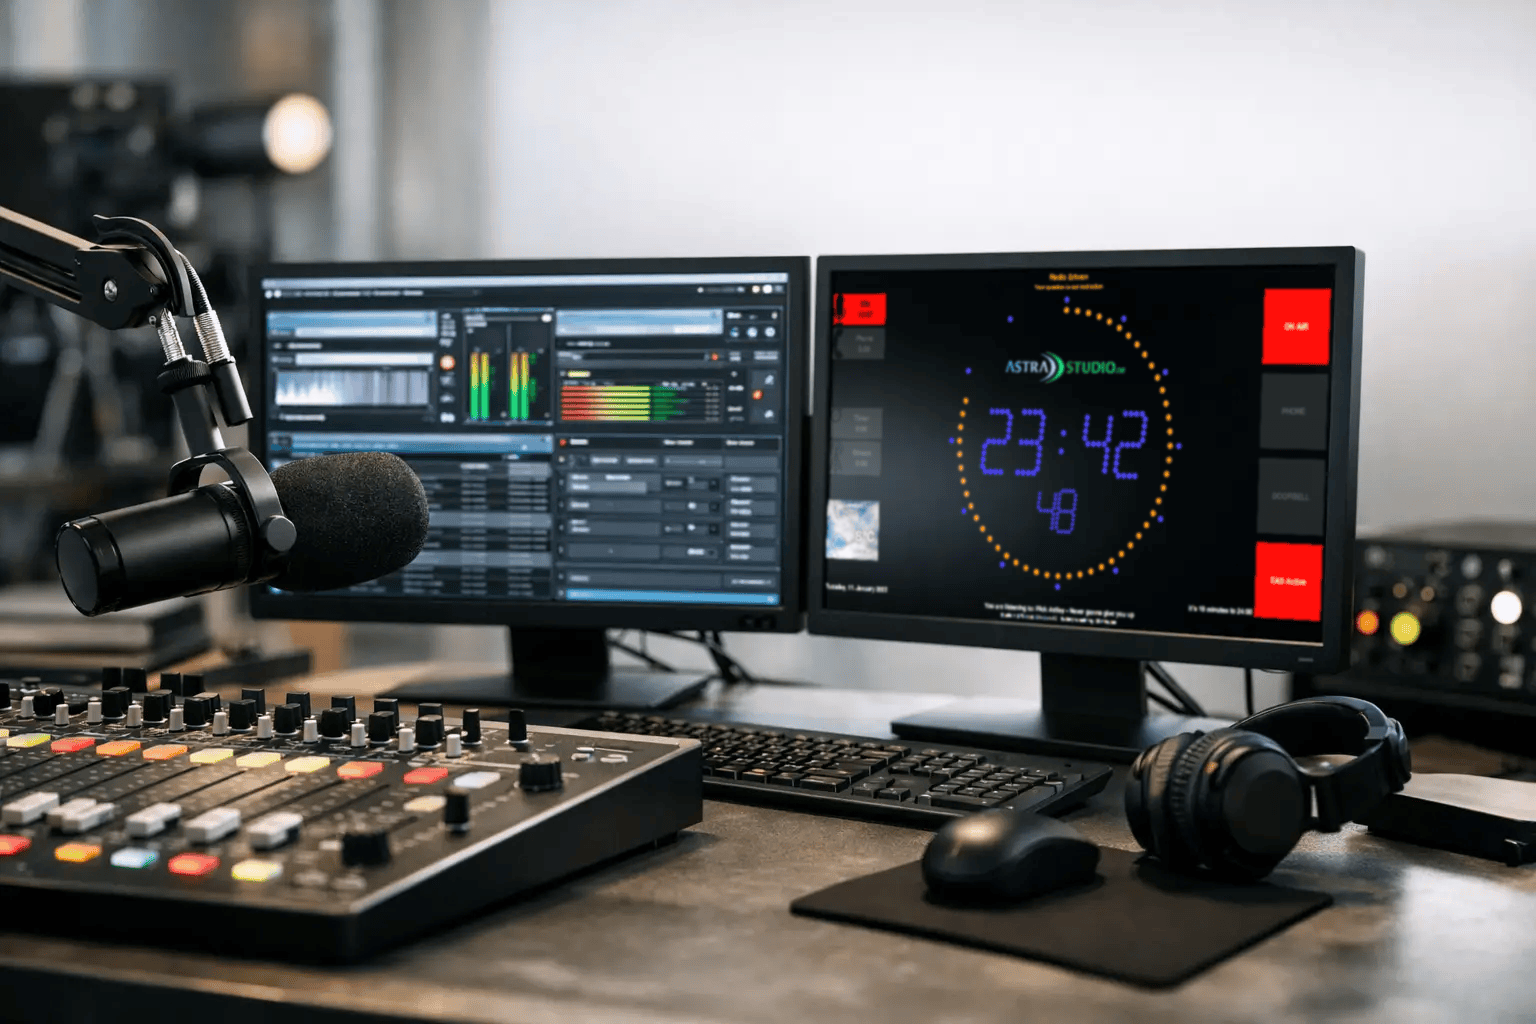
The real advantage comes from combining precise time with operational information. Depending on the room and workflow, one screen can present several useful signals:
- Local time, synchronized to the station or facility time source
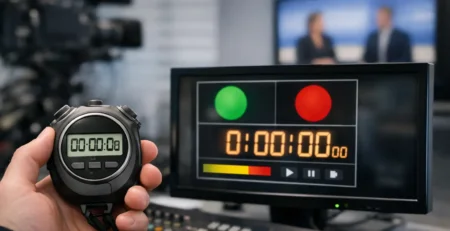
- A count-up timer for live segments, interviews, or breaks
- A countdown to a fixed event, such as news, a legal ID, or a network join
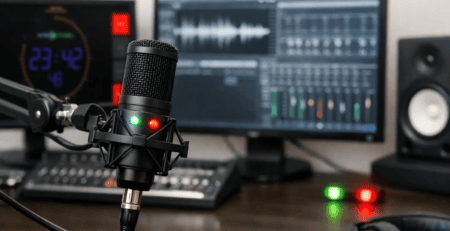
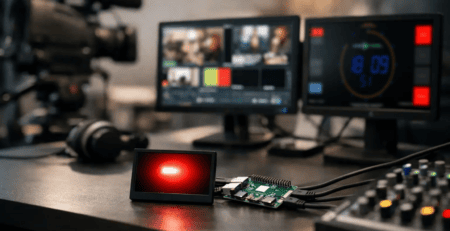
- On-air and off-air microphone status
- Current and upcoming track, show, or playlist information
- Custom text for cues, production notes, weather, or emergency messaging
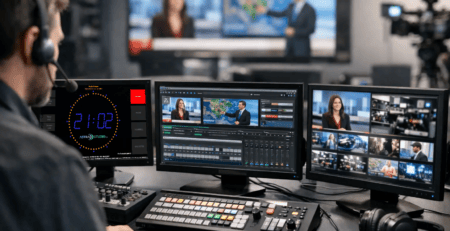
Not every studio needs all of these elements at once. A compact voice booth may only require a clock and a prominent microphone indicator. A main control room may need a scheduled countdown, live duration, source status, and title information. The best approach is to make the display useful for the people who actually work in front of it, rather than filling every available pixel.
Timing Is a Production Tool, Not Just a Reference
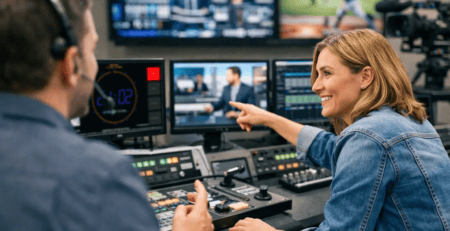
Live broadcasting is full of small timing decisions. A host may need to shorten an outro, a producer may need to cue a remote guest, and an engineer may need to confirm whether the program is approaching a hard network event. When the remaining time is visible to the whole room, those decisions happen earlier and with less friction.
A countdown is especially valuable when a program has fixed joins, newscasts, commercial breaks, or satellite windows. It makes timing visible without forcing the presenter to look away from the console or ask for an update through talkback. In a streaming studio, the same principle applies to scheduled switches, sponsor reads, live streams, and social media segments.
Accuracy matters here. A display that drifts from the automation system, playout clock, or facility reference creates confusion rather than confidence. For professional use, time synchronization should be treated as part of the setup, not as an afterthought. The exact source depends on the environment, but all operational displays should refer to the same reliable clock.
Make On-Air Status Impossible to Miss
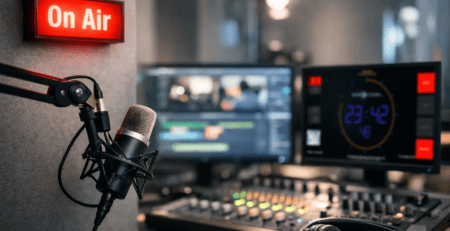
The most valuable studio information is often the simplest: whether a microphone is live. A clear, highly visible on-air indication protects presenters from accidental off-mic conversations and helps guests understand when they are being recorded or transmitted.
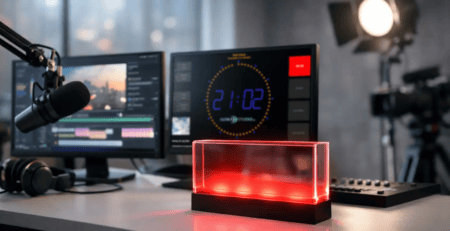
A professional display should use more than small text for this purpose. Strong color states, large labels, and a layout that remains clear from a distance make the difference. Red is familiar for live status, but the important point is consistency. If red means a live microphone in one room, it should mean the same thing throughout the facility.
The status signal also needs to reflect the real system state. A manually operated sign may be sufficient for a small setup, but integration with console logic, GPIO, automation software, or a dedicated control system removes an avoidable point of failure. When the microphone state changes, the display should update immediately and reliably.
Flexible Integration Keeps the Display Useful
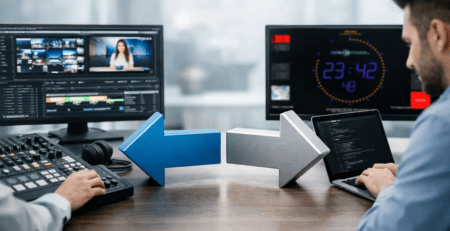
Studios rarely operate from a single application. Playout, automation, mixing, studio control, scheduling, and smart-device systems can all hold information that is useful on a display. A clock solution that only shows its own internal data soon becomes limited.
That is why interface options matter. HTTP, UDP, multicast, MQTT, GPIO, and Home Assistant integration make it possible to connect a display to the workflow already in place. Custom software can extend this further when a facility has proprietary control logic or specialized production requirements.
For example, an automation system can send the current and next song title to a screen in the presenter area. A studio controller can trigger a full-screen countdown before a network news feed. A GPIO contact from a console can switch a microphone indicator from off-air to on-air. A producer can send a short text cue through an API without changing the screen design or interrupting the operator.
This flexibility should not mean unnecessary complexity. A good deployment starts with the required signals and chooses the simplest dependable connection for each one. If a basic HTTP request handles a text update reliably, there may be no reason to build a larger integration. If multiple displays need the same live state at once, multicast or MQTT may be the better fit.
Choose Hardware for the Room, Not the Spec Sheet
The display software is only one part of the decision. Screen size, brightness, mounting position, and playback device determine whether the information is usable in practice. A display mounted behind the console has different requirements than one installed in a guest booth, newsroom, or video production area.
Larger screens are not automatically better. A very large display with small, dense information can be harder to read than a smaller screen with a focused layout. Consider viewing distance first, then select a layout with enough empty space around the highest-priority information. Time and on-air state should usually dominate. Secondary text can remain smaller.
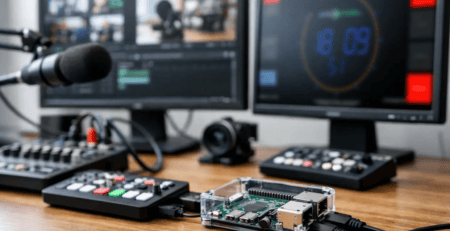
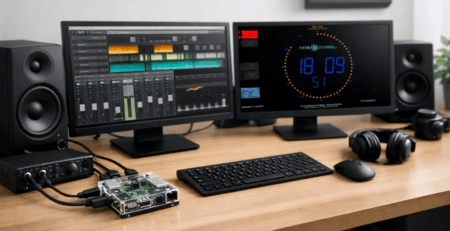
Platform compatibility also affects long-term operation. A Windows, Linux, macOS, or Raspberry Pi OS environment may be the right choice depending on existing hardware, maintenance practices, and the number of displays involved. Raspberry Pi-based installations are particularly practical for dedicated screens because they are compact, economical, and easy to place where a full workstation would be unnecessary.
For teams that need a fast rollout, a preconfigured microSD image can reduce setup time and avoid repeated operating-system preparation. For organizations with standard desktop management, deploying the same display application on existing Windows, Linux, or macOS devices may fit better. There is no universal winner – operational consistency is usually more valuable than a particular platform.
Design for Immediate Recognition
Studio displays work best when their visual language is predictable. Do not make users search for critical information. Put the clock in a stable location, reserve a consistent area for microphone status, and use the same colors and wording in every room where possible.
Branding can be included without weakening usability. A station logo, program identity, or color palette can make the screen feel integrated with the facility, but it should not compete with live status and timing. The screen is a working tool first.
It is also worth planning for different display modes. During normal programming, the screen may show time, on-air state, and track information. Before a hard event, the countdown can become dominant. During maintenance or emergencies, a clear full-screen message may be more useful than normal programming data. Configurable layouts allow one display system to support these changing situations without adding separate hardware.
A Practical Deployment Approach
Start by observing a live shift. Identify where presenters lose time, what questions producers repeat, and which information is currently hidden in software windows or control-room conversations. Those are the best candidates for a studio display.
Next, define the display hierarchy. Decide what must always be visible, what should appear only when triggered, and what information is useful but not essential. Then confirm the source for each data point and test the update behavior under real operating conditions. A clock that looks correct in a quiet test session still needs to perform when the studio is busy.
astrastudio OnAirScreen is designed for this kind of practical implementation, combining configurable clock, timer, countdown, microphone status, and text displays with flexible interfaces for studio systems. Standard software can cover many installations quickly, while tailored integration can address workflows that do not fit an off-the-shelf pattern.
The most effective display is the one your team stops noticing because it is always correct, always readable, and always there when the next live decision has to be made.