How to Choose the Right Radio Studio Countdown Timer
A clearly visible radio studio countdown timer often makes the difference in those very seconds when discussion in the studio is no longer an option. The opener is winding down, the host still has a break, the jingle is ready on the cart wall, and the news segment is set to start. If the timer display is unclear, too small, or unreliable, a normal workflow can quickly turn into avoidable stress.
Why a radio studio countdown timer is more than just a clock in everyday studio life
In professional broadcasting, it’s not just about displaying some arbitrary remaining time. A countdown is an active production tool. It provides guidance for the host, the technical crew, and the production team without the need for constant verbal adjustments.
This is especially crucial in smaller teams. When one person is driving, hosting, and has to keep an eye on fixed timecodes all at the same time, a clear display noticeably reduces the mental load. In larger setups, it helps ensure that everyone involved sees the same beat—regardless of whether they’re sitting at the main console, standing in the announcer’s booth, or joining from a remote studio.
At first glance, this sounds simple, but it has a direct impact on the quality of the broadcast. Clean transitions, timely news segments, reliable commercial breaks, and smooth transitions rarely happen by chance. Most of the time, there are tools behind the scenes that provide exactly the right information at the right moment.
What a Good Radio Studio Countdown Timer Needs to Do
The most important feature isn’t the number of functions, but how quickly it can be understood. The remaining time must be readable at a glance. Large digits, high contrast, and a clear visual logic are more important in the studio than playful interfaces or cluttered menus.
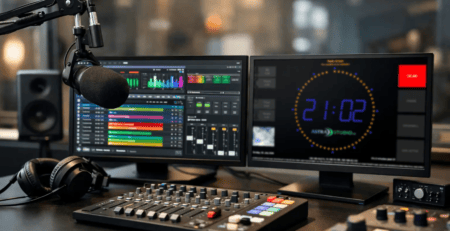
Added to this is the question of how the timer will be used. Should it count down for a single segment, run until a fixed broadcast time, or be displayed as part of an on-air display alongside a clock, stopwatch, and status information? In practice, it is often precisely this combination that is crucial. A standalone countdown may be sufficient when equipping a single workstation. In a real studio setup, however, more is usually required: various display elements, different screen sizes, and clearly defined states for “On Air,” “Preparation,” and “Timing.”
Stability is not a bonus here, but a requirement. A timer that needs to be reconfigured after a system update or doesn’t run smoothly on certain hardware wastes time precisely where reliability is expected. That’s why it’s worth looking into platform support, autostart behavior, and easy recovery after reboots or when switching devices.
Display in the room: The countdown must be visible where decisions are made
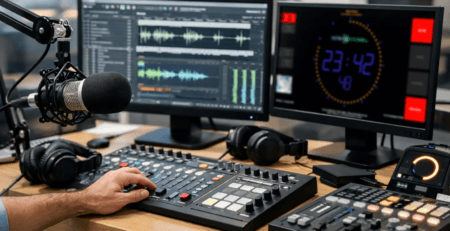
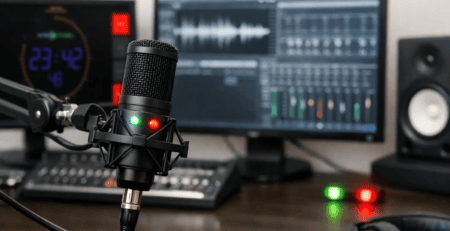
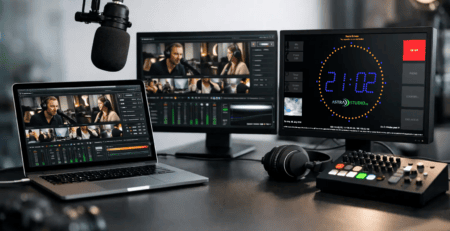
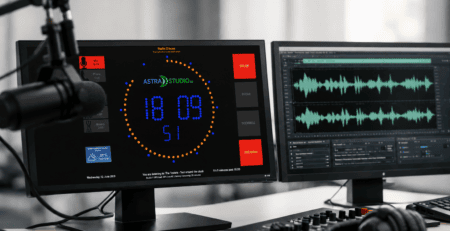
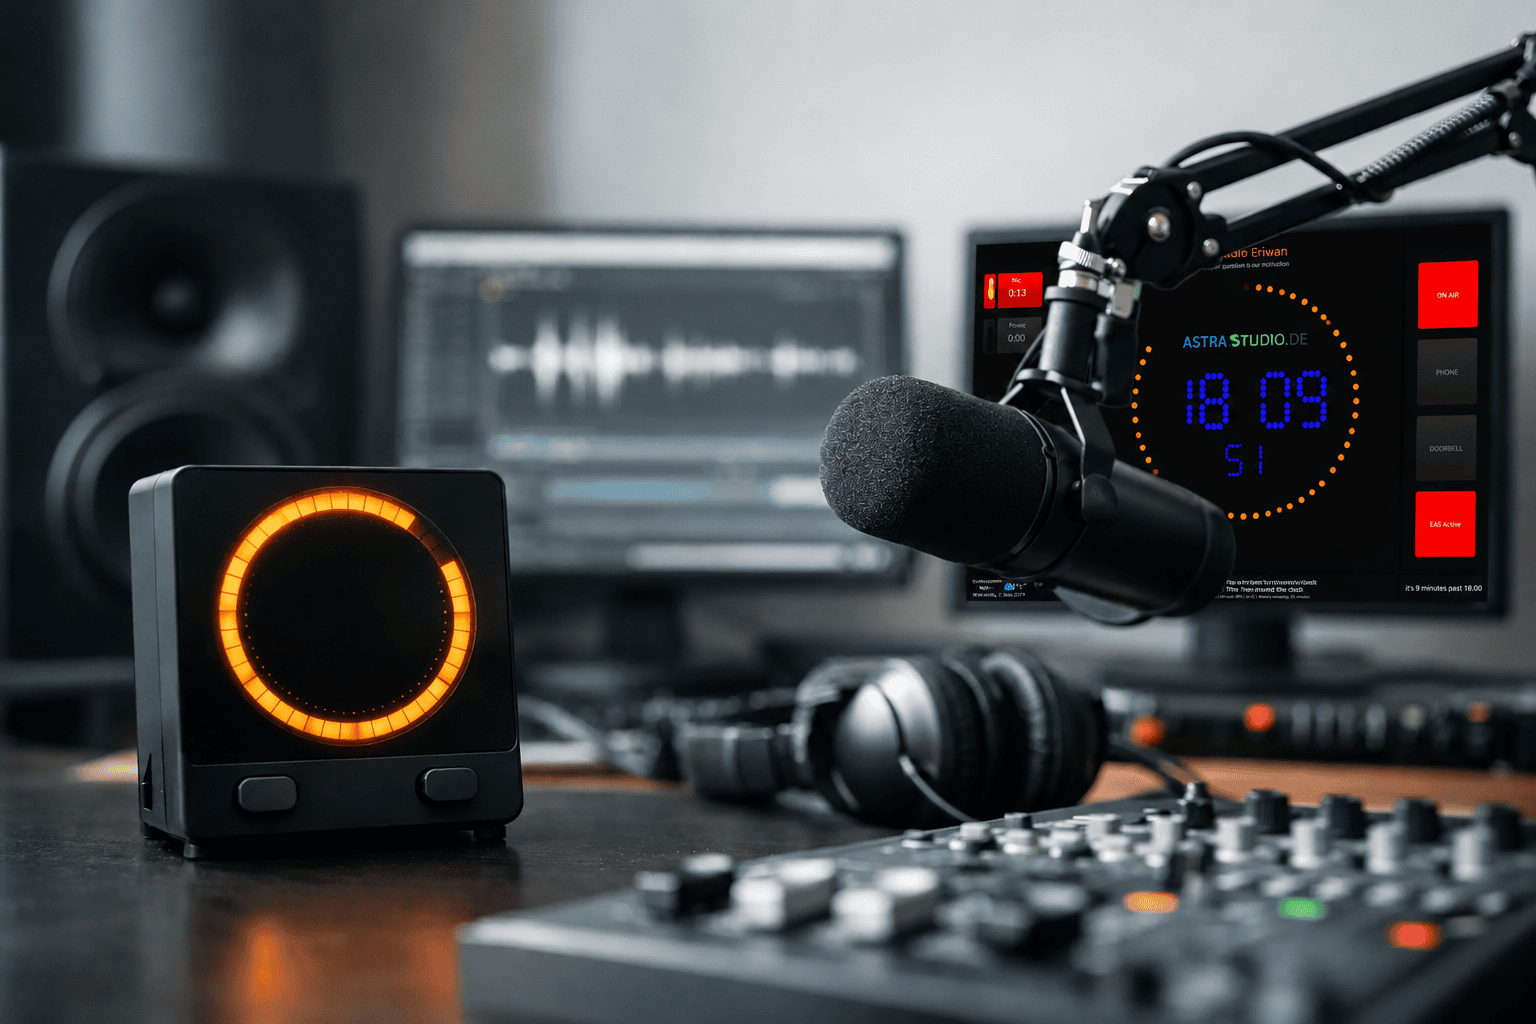
A common mistake lies not in the software, but in its placement. A countdown on a small control monitor is of little use if the host can only see it from the side—or not at all. In practice, a radio studio countdown timer works best when it is designed as a standalone studio display—visible from multiple angles and aligned with the actual line of sight in the room.
It all comes down to the details. In a self-directed studio, a single additional screen is often sufficient. In director-announcer setups, it may make sense to use multiple displays with identical or deliberately different information. The producer may need more context, whereas the host needs only an uncompromisingly clear countdown of the remaining time.
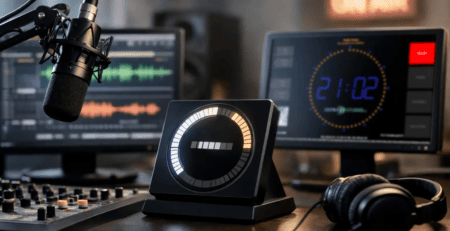
The size of the display also plays a role. Large numbers only look professional if they are scaled properly and display consistently across different resolutions. Anyone using monitors, TVs, or Raspberry Pi-based displays in the studio should therefore ensure cross-platform consistency.
Integration Instead of a Standalone Solution
In many studios, the countdown isn’t the only display element. It often needs to work in conjunction with on-air announcements, a clock, a stopwatch, or other widgets. This is precisely where simple consumer logic differs from solutions designed for broadcast use.
A standalone solution may work in the short term, but it quickly creates disruptions in the workflow. Different devices, varying operating logics, and inconsistent user interfaces make operations more difficult. A better approach is a solution that can be integrated into existing studio setups and doesn’t have to be redesigned from scratch every time.
This also applies to installation. If a countdown runs smoothly on only one specific desktop system but not on a dedicated display computer, implementation becomes unnecessarily complicated. For professional environments, it is therefore important to know whether the display can operate reliably on Windows, Linux, macOS, or compact platforms such as Raspberry Pi OS. This flexibility saves time during rollout, maintenance, and future expansions.
When Off-the-Shelf Software Is Enough—and When Customization Makes Sense
Not every studio needs a custom solution. For many applications, off-the-shelf software is the most cost-effective choice, especially if it installs quickly and already provides comprehensive coverage of typical on-air scenarios. This includes freely configurable countdown displays, easy-to-read layouts, and the ability to customize user interfaces to match your studio or branding.
However, there are situations in which standard functions reach their limits. This is the case, for example, when the timer needs to be linked to specific production processes, when special display logic is required, or when multiple signals and states need to be consolidated into a single display. In such cases, adaptability is not just a nice-to-have feature, but an integral part of the operating model.
This is exactly where a modular approach makes sense. Instead of developing everything from scratch, it’s often more efficient to tailor an existing solution specifically to your own infrastructure. This reduces the project workload while still ensuring that the display not only works in general but is also specifically suited to the studio.
Technical criteria that really matter in practice
A countdown timer is usually only evaluated when something goes wrong. That’s why the selection shouldn’t be based solely on appearance or price. In day-to-day studio operations, responsiveness, readability, and ease of maintenance are what matter most.
It is important how quickly the system is back up and running after a reboot. Equally important is whether a dedicated display computer can be operated without significant administrative effort. Especially for displays that run daily, a simple boot process with automatic display startup is a real advantage.
The issue of hardware compatibility should not be underestimated either. Some setups benefit from traditional computers, while others benefit from compact, energy-efficient devices. If the software works reliably in both scenarios, the infrastructure remains flexible. This is particularly helpful when studios expand, additional rooms are set up, or existing displays need to be replaced.
In many broadcast environments, visual customization is also crucial. Colors, fonts, proportions, and layouts are not trivial matters. They directly influence how quickly information is absorbed. A good solution allows for customization without turning it into a separate software project.
The Difference Between Demo Mode and Continuous Operation
Many timers look good on a product page or in a test setup. It’s only during continuous operation that it becomes clear whether they’re truly suitable for broadcast use. Does the display remain stable even after weeks of use? Can it be maintained without specialized knowledge? Can updates or adjustments be implemented in a controlled manner? And does the whole system still function properly even when the screen isn’t at the workstation but is permanently installed in the studio?
For technical decision-makers, these questions are often more important than additional features. A radio studio countdown timer doesn’t have to be spectacular. It needs to work reliably, remain easy to read, and integrate seamlessly so that it doesn’t draw attention to itself in everyday use—except when it’s needed.
That is precisely why many professional environments rely on solutions that are both available in a standardized form and expandable as needed. astrastudio broadcast solutions follows this approach with ready-to-use studio displays and the ability to adapt them to the requirements of real production environments. For operators, this means one thing above all: less friction between concept, installation, and operation.
Which Solution Is Right for Which Studio?
A web radio station with a single broadcast slot has different requirements than a local FM station or a production company with multiple control rooms. That’s why there isn’t one perfect configuration. The key factor is whether the solution fits the workflow.
For simple setups, a clear countdown on an additional display is often sufficient. As soon as multiple roles are involved, it’s worth having a display that shows other relevant information in addition to the remaining time. In environments with fixed tickers, news windows, and commercial breaks, the accuracy of the display becomes even more important. In such settings, the display should not only look attractive but also actively support time management.
Budget considerations also play a role. Those who want to go live quickly will benefit from pre-installed systems or ones that are particularly easy to set up. Those who already have existing infrastructure are more likely to prioritize compatibility and flexible integration. Both approaches are valid. The key is not to choose the most complex solution, but the one that noticeably improves operations.
A good countdown doesn’t take any work off the team’s hands, but it does eliminate uncertainty during critical moments. And that’s often the difference in the studio between reacting frantically and broadcasting in a controlled manner.