Preconfigured Raspberry Pi Studio Screen Setup
When a studio screen is needed for a live room, most teams do not want another side project. They want a display that boots fast, shows the right information, and fits into the existing workflow without extra maintenance. That is exactly where a preconfigured raspberry pi studio screen makes sense. It removes the usual operating system prep, display tuning, and startup scripting from the critical path and turns the Raspberry Pi into a practical studio endpoint.
Why a preconfigured Raspberry Pi studio screen solves a real studio problem
In many radio, streaming, and production environments, the display itself is simple. The hard part is getting it production-ready. A generic Raspberry Pi setup still needs imaging, OS updates, display settings, auto-start behavior, network configuration, and application deployment. That may be acceptable for a lab system. It is less appealing when the screen is supposed to support a live broadcast.
A preconfigured Raspberry Pi studio screen shortens that process considerably. Instead of assembling the software stack from scratch, you start with an image built for the job. For technical teams, that means less setup time and fewer variables. For operators, it means the screen behaves predictably from day one.
This matters even more when multiple displays are involved. A single countdown screen in one booth is easy enough to manage manually. A network of on-air displays across control rooms, voice booths, edit suites, and streaming positions needs consistency. Preconfiguration helps standardize that rollout.
What “preconfigured” should actually include
Not every ready-made image is equally useful. In a studio context, preconfigured should mean more than just “the software is installed.” It should cover the details that usually consume time during commissioning.
Display behavior and auto-start
A studio screen should power up and go directly into its assigned function. No desktop cleanup, no manual launch, no user login that someone forgot to disable. Auto-start is one of the small details that becomes very important in daily operation.
The same applies to display handling. Resolution, rotation, fullscreen behavior, and screen blanking all need to be addressed. If a timer screen goes dark after inactivity, it is not a studio tool anymore. It is a problem ticket.
Stable network-based control
Most professional display workflows are not isolated. They rely on status information from automation, control systems, GPIO events, custom software, or messaging platforms. A practical preconfigured Raspberry Pi studio screen should therefore support clean integration paths, not just local playback.
Depending on the setup, that may include HTTP, UDP, multicast, MQTT, GPIO, or integration into environments such as Home Assistant. The right option depends on how your facility already moves data. A smaller web radio operation may prefer lightweight HTTP triggers. A larger technical environment may rely on multicast or custom event distribution.
Purpose-built screen functions
The value of a studio screen is in what it communicates at a glance. On-air state, microphone status, current title, next title, countdowns, stopwatch modes, clocks, or weather can all be relevant, but only if they are easy to read and easy to drive from external systems.
That is why purpose-built software matters. A preconfigured image should not force teams to improvise generic dashboard tools for broadcast use. It should be ready for studio-specific display tasks from the start.
Where this approach works best
A preconfigured Raspberry Pi studio screen is especially effective when reliability and speed matter more than experimentation. That includes fixed installations where a display has one clear role and needs to perform it every day without attention.
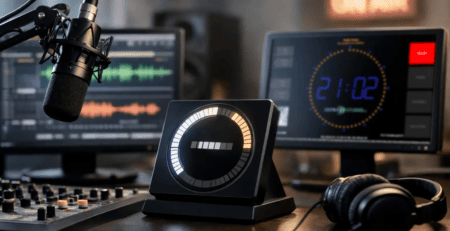
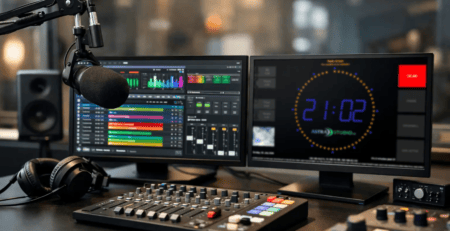
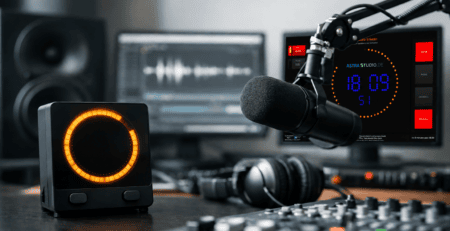
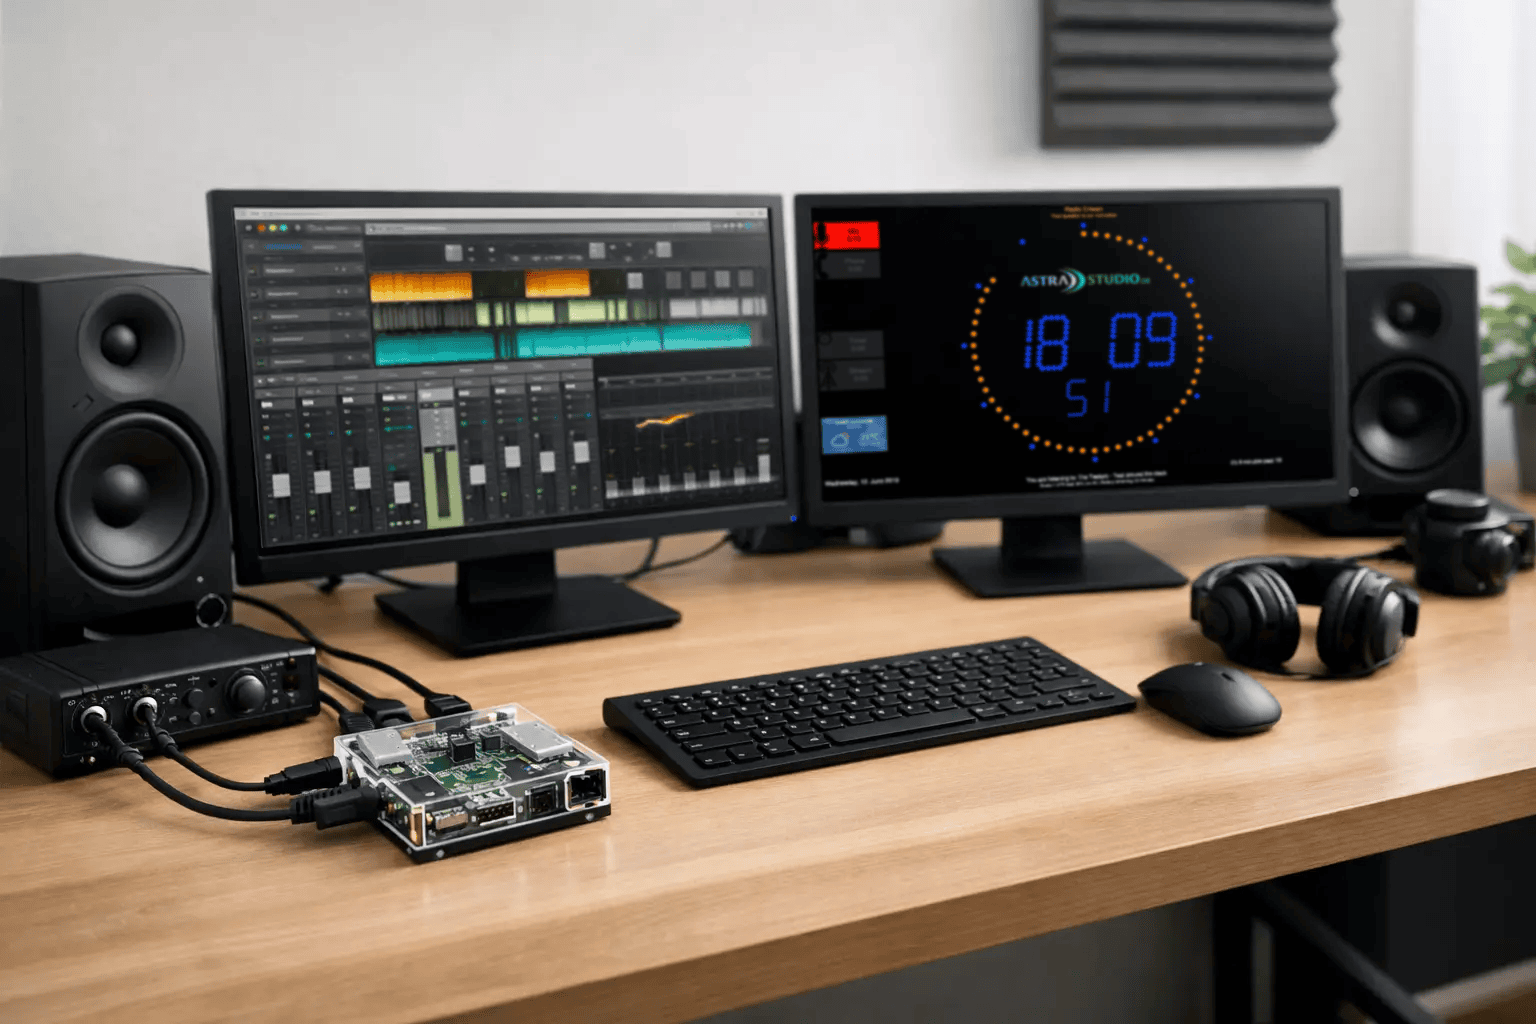
In radio studios, a common use case is a dedicated on-air display showing mic status, timers, and title data. In streaming rooms, the same principle applies to talent-facing countdowns or program status indicators. Production spaces often use secondary screens to show timing, segment durations, or operational cues that should stay visible even when primary workstations are busy.
There is also a cost and maintenance advantage. A Raspberry Pi-based endpoint uses less space and power than a full desktop display client, and once the image is standardized, swapping hardware or deploying additional units becomes simpler. That does not mean it replaces every PC-based display. If a screen needs heavy local processing, advanced operator interaction, or multiple unrelated applications, a full workstation can still be the better fit.
Integration is where the decision is won or lost
Studio buyers usually do not struggle with the idea of a Raspberry Pi. They struggle with fit. Will the screen work with the automation system, the switching logic, the metadata source, and the control conventions already in place?
That is the real benchmark. A preconfigured system is useful only if it can receive the right data in the right format at the right moment. This is why flexible APIs and interface options matter more than hardware specifications alone.
Text and status data from external sources
Many studios need more than a static ON AIR sign. They want dynamic information such as current and next track, custom labels, microphone states, or triggered messages. These values may come from playout software, automation middleware, custom scripts, or control processors.
A strong screen platform should accept this information without forcing a full redevelopment of the workflow. If text can be updated through common interfaces and status changes can be triggered by simple events, deployment becomes much easier.
Customization without complexity
Branding and layout flexibility are often important, especially in customer-facing studios, hybrid video spaces, or multi-room facilities. But customization only helps if it does not create support overhead.
The best setups allow practical adjustments such as colors, screen zones, labels, timer styles, and data mapping without turning every installation into a custom software project. When deeper adaptation is needed, it should be possible without breaking the core product logic.
Trade-offs to consider before you deploy
A preconfigured Raspberry Pi studio screen is not a magic answer to every display requirement. It is efficient because it narrows the use case and removes avoidable setup work. That focus is a strength, but it also means teams should be realistic about their needs.
If your studio requires highly interactive local control on the screen itself, extensive browser-based multitasking, or constantly changing operator use, a general-purpose computer may still be more suitable. The Raspberry Pi approach is strongest when the screen has a defined operational role and receives most of its instructions externally.
There is also the question of support responsibility. Some teams prefer to build everything themselves for maximum control. That can work well if in-house Linux and scripting knowledge is readily available and documentation is strong. But in many broadcast operations, the hidden cost of self-built display endpoints appears later, during updates, staff turnover, or fault diagnosis under live conditions.
That is why standardized deployment matters. A known-good image with repeatable behavior often has more operational value than a custom setup that looked cheaper at the beginning.
What a good rollout looks like in practice
For most professional environments, deployment should be boring. You image the card, boot the device, connect the network, assign the screen role, and verify the incoming data. That is the right level of effort for a utility display.
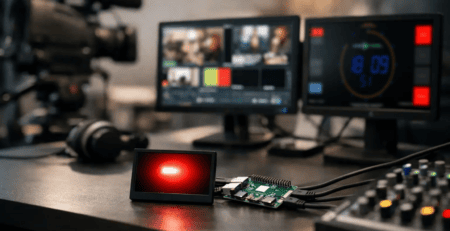
From there, scaling should be straightforward. One screen may run an on-air timer in the live room, another may show stopwatch and countdown functions in production, and a third may display mic state and title metadata in a streaming set. The hardware can remain consistent while the screen content changes by configuration and data source.
This is also where a vendor with both product and development experience becomes useful. Standard software covers the majority of requirements, but edge cases always exist in media environments. A control signal may need translation. A layout may need adaptation for a specific client monitor. A data source may require custom middleware. Having a practical path from standard deployment to tailored implementation reduces friction and keeps projects moving.
Why preconfiguration improves uptime, not just setup speed
The obvious advantage of a preconfigured Raspberry Pi studio screen is faster installation. The less obvious advantage is lower operational drift. When devices are built from the same image and behave the same way, troubleshooting gets easier. Spare units are easier to prepare. Documentation is clearer. Update planning is less chaotic.
That consistency is valuable in any professional setup, but especially in studios where screens support timing, signaling, and on-air awareness. A display may look secondary until it fails during a live handoff or a tight segment change. At that point, predictability matters more than novelty.
For teams that want purpose-built studio display functions with simple installation and flexible integration, a preconfigured Raspberry Pi-based approach is often the practical middle ground. It avoids the weight of a full PC endpoint without forcing you into a one-size-fits-all appliance. astrastudio follows exactly that logic with deployable studio screen software and a ready-to-use Raspberry Pi image designed for real broadcast workflows.
If your current display setup still depends on manual launches, improvised scripts, or hardware that does far more than the job requires, it may be time to simplify the part of the chain that should simply work.